Before operating your Newtonian™2 inside a dome, do a practice set up.
First be certain that your laptop is sending an image to your projector. Turn on the projector and let it warm up. Then attach the video cable connecting the laptop to the projector. The cables you use depend on your projector and laptop.
You should see an image projected on the wall from your laptop. The projector will either receive a cloned image of the laptop screen or the laptop is in two-screen mode. Your system instructions should specify this setting. With your projection software, choose the Newtonian™2 Target image on your laptop and be certain that your projector is projecting it. Also locate the HD Warped Grid on your laptop. The grid and the target will both be needed in aligning the Newtonian™2 and adjusting the projector. Do not set up the Newtonian™2 until you have your laptop and projector communicating properly.

Now turn off the projector and let it cool. Shut down the laptop. You are ready to use the Newtonian™2
1. First set up the table. You will have a choice of table heights. If you are using chairs, you may want the Newtonian™2 higher than if you are having the audience sit on the floor. For this practice, pick a low height where the system is most stable.
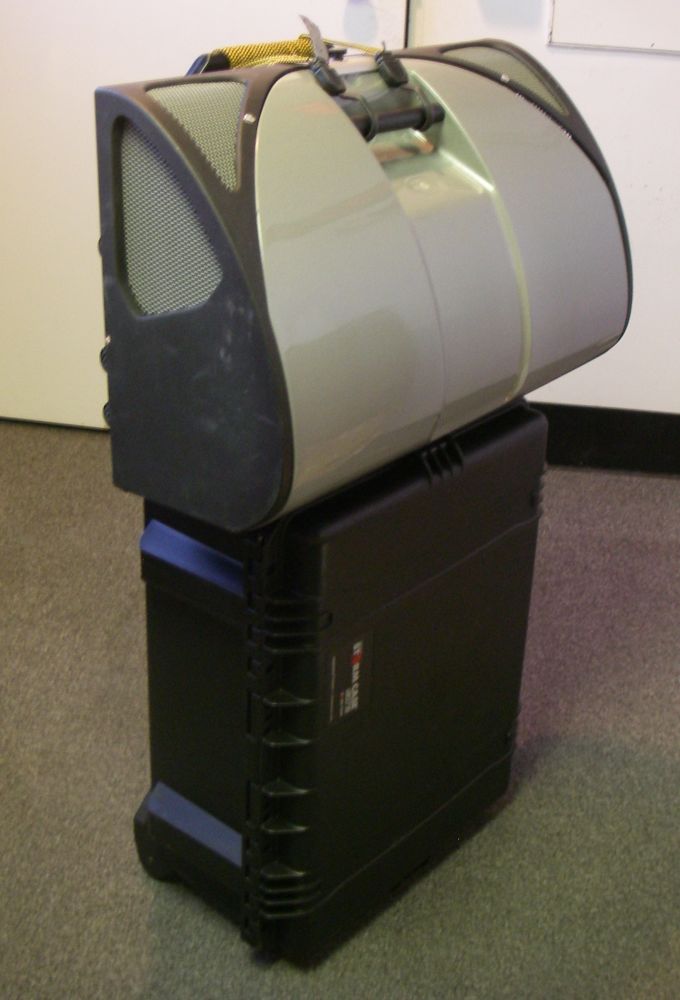
2. Next place the Newtonian™2 on the table and open it. Be certain that the Newtonian™2 is balanced on the table. Also be careful not to touch or scratch the large first-surface convex mirror. Remove the flat board on the back of the Newtonian™2 and set it aside. The projector cords will go through this opening.
3. Carefully unplug your cooled down projector and place it inside the Newtonian™2. The power cable can be attached through the opening in the back of the Newtonian™2. The projector lens should be centered under the mirror. You may have to pull out the side of the Newtonian™2 opposite the hinge arm to center the projector and/or to allow the projector to vent. When purchasing a Newtonian™2, you must specify which side the hinge arm is to be on. This decision is based on the location of the lens of your projector.
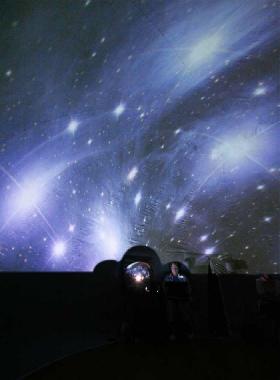
4. Choose the grid image on the laptop and project it. This grid will look like a circle on the dome. You have several adjustments in placing the grid correctly on the dome:
5. Attach the secondary mirror and mount to the slide that also holds the Newtonian™2 closed. Pull the slide out about 6 inches (15 cm) and attach the secondary so that the mirror is aimed toward the convex mirror. There may be a thin sheet over the secondary. Please remove it and discard the sheet.
6. The feet of the projector can be raised or lowered. Set them so that the projector is projecting onto the flat secondary mirror. You can raise or lower the secondary flat mirror if needed. The grid image should be completely on the secondary mirror. You may also need to adjust the magnification and focus on the projector. Locate these adjustments.
7. Now use the tilt screw on the back of the secondary mirror assembly to send the image to the convex primary mirror. At this point you may have to pull out or push in the slider holding the secondary mirror for the projector to produce a focused image. The grid image should be completely on the mirror with the flat bottom edge of the grid close to the bottom of the convex mirror.
8. Finally you can adjust the tilt of the convex mirror by sliding the device attached to the hinge on the flat base of the Newtonian™2. The opening of the Newtonian™2 should be correct to project an image where you want it on the dome – usually low enough to be immersive, but not hitting the heads of the audience.
9. You will also need to connect the power to the laptop as well as the cord from the sound system once you are in the dome. Locate these cords in advance.
10. Now turn off the projector and allow it to cool. Remove the secondary from the slider and cover it with the secondary bag. Once the projector is cool, you can unplug it and remove it from the Newtonian™.

11. At this point, attached the secondary to the bar in the lid behind the convex mirror, being careful not to scratch the primary mirror. (Note, some operators choose to carry the secondary mirror assembly separately. Either is acceptable.) You should be able to keep all of your settings on the secondary assemblyy when you stow it.
12. Replace the back panel and close the lid of the Newtonian™. The Newtonian™2 will open to the same location when you set it up in the dome. Slide in the slider and tighten the knob to hold the Newtonian™2 closed.
You are now ready to take your Newtonian™2, laptop, projector, sound system, and table into a dome and have your first show! Remember that the Newtonian™2 sets up along the back wall of the dome beside the air vent, allowing enough room for an operator’s chair between the Newtonian™2 and the door. Use the HD warped grid to place the image on the dome and the Newtonian™2 target image to set the projector’s brightness and contrast for your specific dome.